Volvo Secondary Air Injection System Testing/Repair

Secondary air system (SAS) is an emissions control feature that pushes air into the exhaust to increase catalyst heating and to help burn up hydrocarbons and carbon monoxide. A SAS valve which won’t open (frozen or lacking full control vacuum) will result in a P0410 error code. Aged, cut, cracked vacuum elbows, couplers and lines are common problems/solutions.

Components:
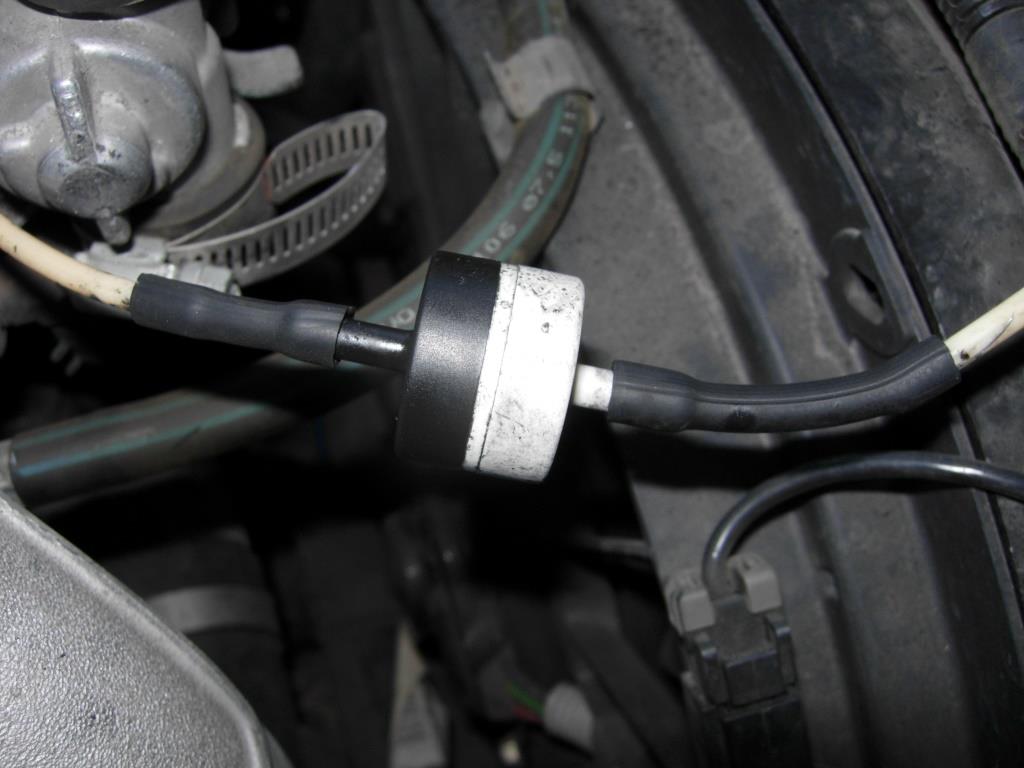
SAS vacuum check valve
SAS air injection pump
SAS valve

SAS air pump relay


SAS solenoid valve


Testing:
Ensure all fuses are okay, battery voltage is at least 11.5 volts, all electrical accessories are off, A/C is off. Ensure engine is mechanically sound.
1. With the car off and cold check hoses and components of Secondary Air Injection System, for damage, loose fit and improper installation, check vacuum hoses of Secondary Air Injection System. Repair as necessary. Erase DTC (Diagnostic Test Codes) memory. Verify repair. If DTC does not reset, test is complete.
2. The SAS valve is tested on the car. With the car off and cold, disconnect the small vacuum hose at the valve. Disconnect the large hose from the valve.  Using another piece of hoses, (you will be blowing and sucking on these, so make sure you have enough length) connect one to the small port and the other two the large port. First, try blowing into the large hose, you should not be able to, it should be closed.  Then using a vacuum pump or someone else, such on the small hose (this should open the valve) now blow into the large hose (you should be able to blow). If either fails, replace the valve. A secondary test is with the car running: Disconnect the large hose from the valve, the valve should not leak exhaust out the hose fitting toward the air pump. Suck on the small hose it should open.
3. The check valve is tested similarly. With the car off and cold, disconnect the check valve, try alternating blowing and sucking on each end.  If it fails, replace it. NOTE the properly placement in the line (DO NOT REVERSE).
4. The air pump relay switches the high-powered pump motor on and off with a low level signal from the ECM.  Newer 850 models have the relay attached to the pump while older models have the relay mounted nearby.  Relays can fail or have connection problems which cause the air pump to not operate.
5. Verify with engine running, there is sufficient vacuum to the solenoid, activate the solenoid to see if the vacuum gets to the check valve. If not, check for broken hoses.
6. It is possible to check the air pump by supplying power directly to it.  Check your wiring diagram for info. Use a fused jumper.  It works or it does not.

Volvo 850 Strut nut socket


850 sway bar bushing replacement

To keep your sway bar from "walking" or sliding left and right after bushing replacement, try using shaft collars or other clamps. 

You  should lower the suspension to replace the bushings, however it can be done at much greater work and time without lower it.

Volvo 850 shock job

Drivers side rear shock top mount location

Detail of rear shock

Passenger side closeup of upper shock mount and location

Access to upper shock mounts and bolts is behind the rear seat. Before attempting to remove the upper bolt, clean threads with wire brush, spray well with penetrating oil, use special shock bolt socket or a pair of vise grips on the oval top of the shock bolt. As the nut comes off spray again with oil. DO NOT remove the lower mount first, as this will help hold the shock while the upper nut is removed.

Pics showing upper rear shock mounts and style of shocks.

850 rear disk removed

Rear rotor removed to expose the  parking brake. Note: the locating pin is screwed back in the Hub to prevent its loss.

Posted via Blogaway

Bad sway bar links

The sway bar or anti roll bar connecting links were bad. One  ball joint had completely disintegrated.

Posted via Blogaway


Posted via Blogaway

Vlovo 850 timing belt job


The following are just photos of the radiator job that I was doing also, I'll move them later.


This job will take approximately 4 hours assuming you have all the required tools and the parts available at hand. A complete timing belt kit which includes the water pump is between $150 and $250 depending upon where you shop. 
 

The following instructions assume that you were be replacing all of the components, including the water pump.

Removal
Before disconnecting the negative battery cable, make sure you have the correct activation code for the stereo if you have an anti-theft system. Disconnect the negative battery cable.

Set parking brake and block the rear wheels.
Raise and safely support front of vehicle.
Drain the cooling system.
Remove the following:
Spark plug cover.
Fuel pipe clip at top of timing cover.
Coolant reservoir placing it to one side.
Right hand front wheel. Inside the tire well, raise the inner cover in the back covering the crankshaft bolt.
Modular box snorkel.
The serpentine belt.
Front of timing case cover.
Remove the timing belt guard plate located behind behind the crankshaft pulley.
Remove the spark plugs or loosen them severely to allow the engine to turn without compression.
Look over all the components (both on the car and the new ones) and identify were they are and how many bolts they have and/or take a photo now.
Pay special attention to identifying and safe guarding the auto tensioner restricting washer which may not be included in the kit.
Using a socket and the crankshaft pulley bolt rotate the crankshaft  clockwise until the three timing marks align as required (best to check twice).

Remove the upper timing case cover (covers the top of the camshaft gears). 
At this point, you can either cut the belt and remove it or remove the belt by first removing the tensioner. Either way will work.
Once the belt is removed, spin using your hand the various pulleys to check for noise or roughness, if you have the kit, just remove them as you will be replacing them.
Clean the area, before removing the water pump to prevent dirt and cleaning fluid entering the engine.
Remove the water pump and remove any gasket meterial remaining on the engine.


More to follow